
As I mentioned in an earlier post, one of my goals for this summer was to get more hygge into my life. But how? That was the question.
Once the school year wrapped up, giving Mike and I some time to focus, we decided that we were ready for the challenge of a room refresh. Since our sun room is the only space in our house that hadn’t been painted in the 16 years we’ve lived here, it was an obvious candidate. Also, I’d been thinking about making the sun room part of my hygge-enhancement plan.
However, our sun room presented us with several challenge.
Challenge #1: History
Originally, our sun room was a simple covered patio. Then a previous owner decided to enclose that space, making it an indoor craft room. The original outdoor siding had been left on the north and west walls; similar siding was added to the walls on the south and east sides. So, the walls were rough and rugged–and because we weren’t doing a remodel, they were going to stay that way.
When we bought the house, the sun room featured a huge built-in desk/workspace and craft lights hanging from the ceiling. The craft lights disappeared soon after we moved in. We didn’t break out the built-in desk until a few years ago. Then we discovered–after inspecting a scorched outlet that had been hidden beneath the built-in desk–that the room had not been wired correctly and we’d narrowly escaped a house fire. We had an electrician cap off all the outlets in that room, for safety’s sake, until we can afford rewiring.
Breaking out the built-in desk also revealed two squares of brown indoor/outdoor carpeting that were glued to the cement patio floor. When that carpet had been replaced with linoleum, just before we bought the house, those two squares of carpet were hidden under the two ends of the built-in desk. Now, they were on glorious display.
Challenge #2: The Space
Our sun room is roughly 11′ x 9′. However, the west wall is entirely taken up by a sliding glass door that opens onto our dining area–so, it’s not really a wall. More like a giant window facing inward.
The door to our back patio, 3 feet wide, is the primary route for our dogs (and all of us) to access our back yard. That means a 3-feet-wide semicircle has to remain clear in the center of this room–and, when you add in space for people and dogs, that circle expands.
To put it simply, whatever we did with this room had to be done around the edges. Also, it had to be done with the understanding that this is a room which sees a good amount of traffic and dirt from the outdoors. It’s technically part of our house, but it’s clearly part of the back yard as well.
And, finally, this room doubles as a “crate” for our younger dog, Millie, whenever we’re away from home. That meant any plants we added to the indoor environment had to be pet-safe and out of reach. It also meant we wouldn’t be decorating this room with pillows and throw blankets, since Millie would treat them as toys.
Challenge #3: The Budget
Because we undertook a major (but urgent) renovation of our master bathroom earlier this year, the amount of money we could devote to a room refresh was very limited.
We didn’t have the money to have the walls resurfaced or the room rewired. We didn’t have the money to remove the window that looks from the sun room into our master bedroom. (Remember its history? When this room was a patio, that window in the master bedroom opened to the outdoors. Now, it opens to another room.) We definitely didn’t have the money to transform that window into French doors, something we’ve dreamed of doing for years.
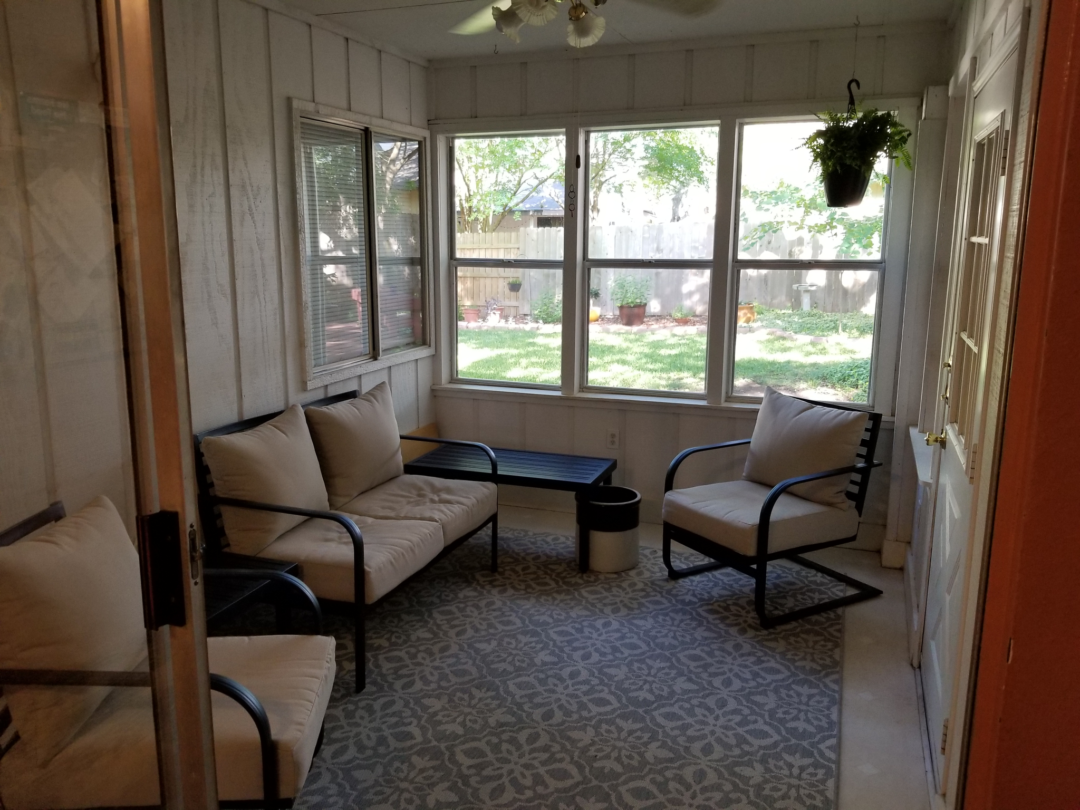
Keeping all that in mind, here are some “Before” pictures of the sun room.

Before unloading the room
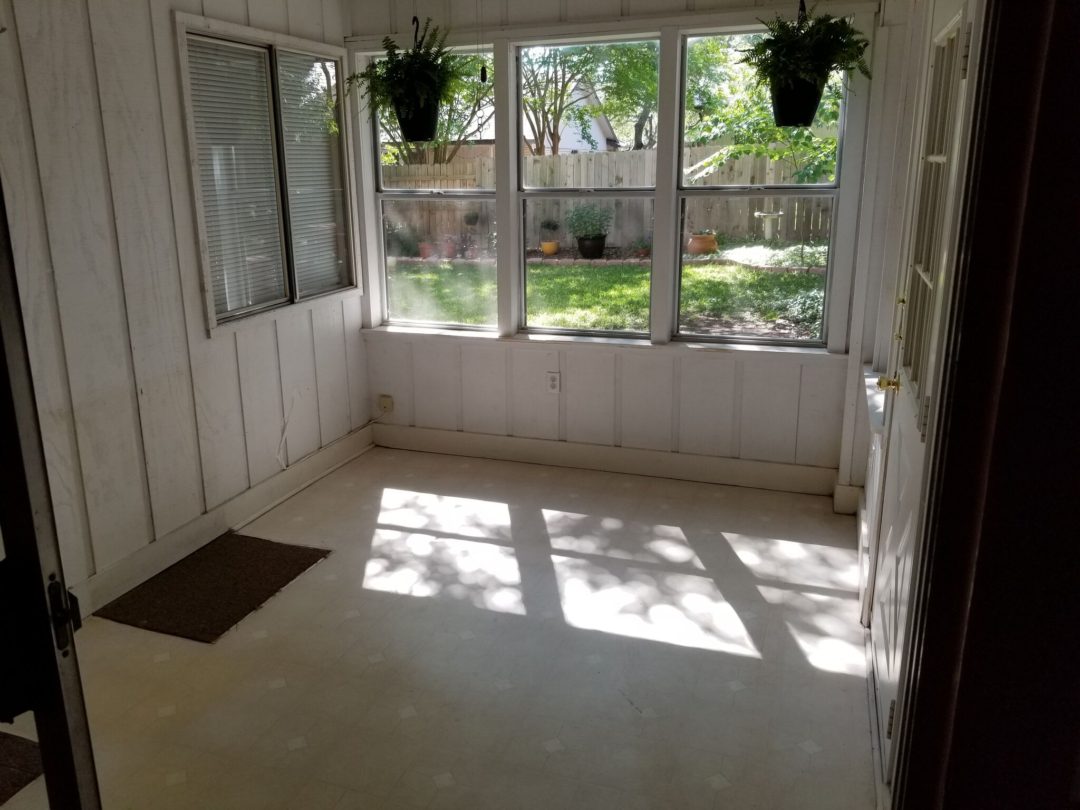
After unloading–note the lovely brown carpet squares (and the wall damage where the built-in desk once sat.)
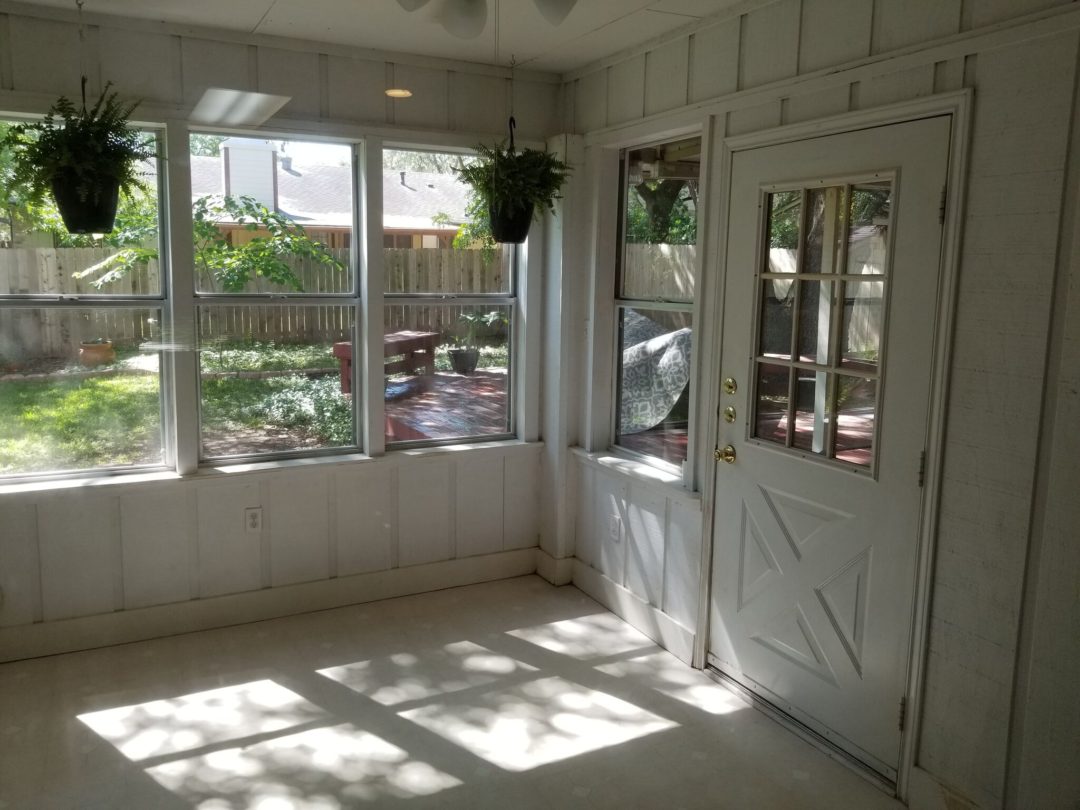
A view of the south wall, with its giant door.
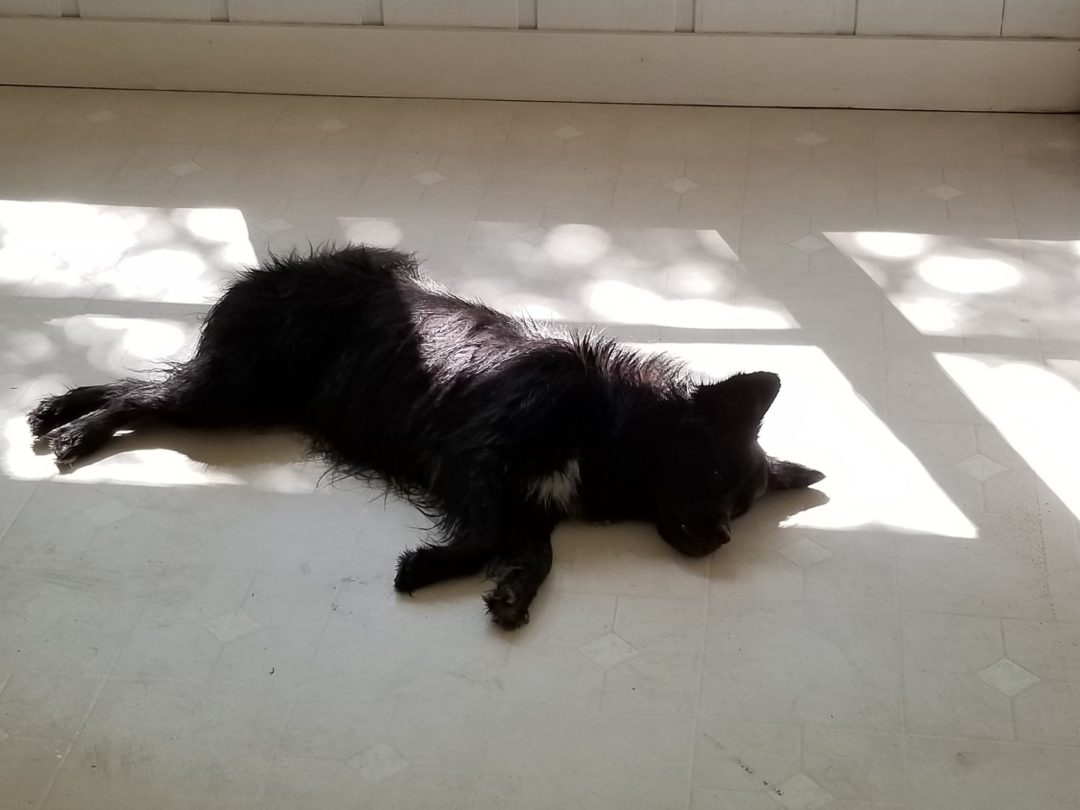
Millie found the whole process exhausting.
Where to begin?
Our room refresh began, as any painting project does, with a thorough cleaning. This room was in dire need since, as I mentioned, it sees a lot of dirt from the outdoors. Cleaning it is tricky, though, given the rough texture of the walls. I managed it by using pieces of old t-shirts with no nap that might get caught on the paneling and leave strings behind.
After that, I filled some nail holes with spackle–a cheap tube I picked up at Target–keeping in mind that these walls were never going to look smooth and working with only the most noticeable dents in the siding. I also used JB Weld KwikWood Epoxy Putty to repair some damage Millie had done to windowsills and baseboards, in her younger and wilder days. It’s a very easy product to use for any kind of wood repair–just remove any slivers of raw wood, knead the KwikWood putty until it’s malleable, and spread it over the damaged area. You can use a putty knife to smooth the surface a bit. Once the putty is dry, treat it just like wood. Use a sanding block to smooth the surface and wipe away any dust before you start painting.
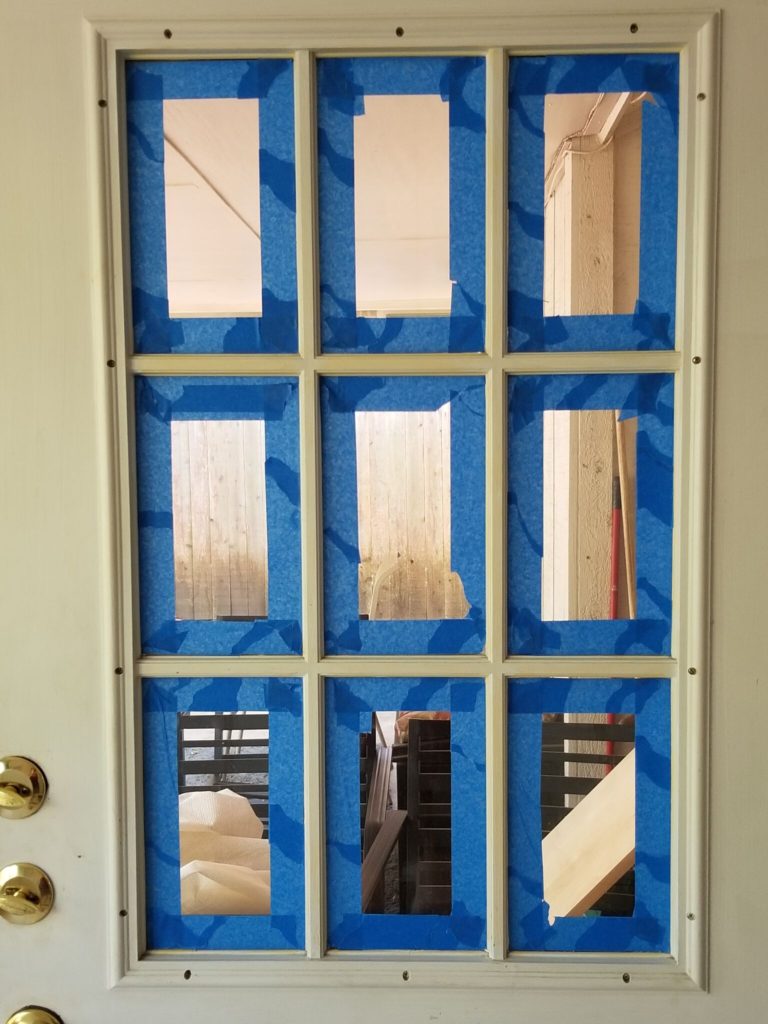
Finally, we taped off the windows–including all those tiny glass panels in the exterior door–and were ready to go.
Ready to see how the room turned out? Come back on Wednesday for Part 2!


No Comments